ငွေကြေးရွေးချယ်ပါ

ဘာသာစကားရွေးချယ်ပါ


 Roymall C.o.

လုံခြုံသောငွေပေးချေမှု

 အခမဲ့လက်ဆောင်
 ပို့ဆောင်မှုမူဝါဒ
 ပြန်လည်ပို့မှုမူဝါဒ
Features:
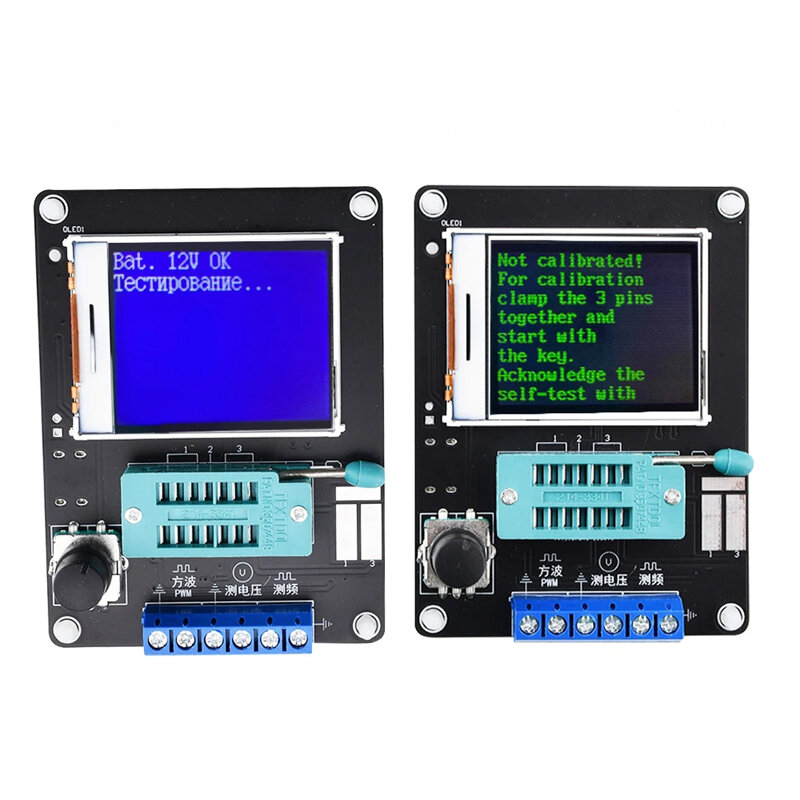
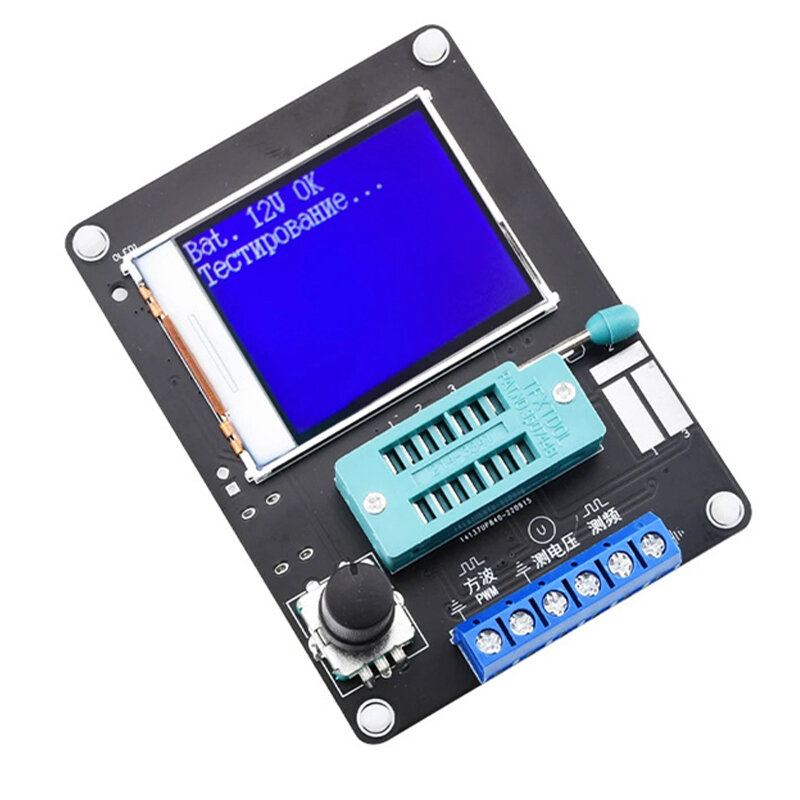
1. Digital liquid crystal display, easy reading, can display the measured data and graphics
2. Rotary switch control, easy to use button measurement
3. Long press the test button to exit the frequency measurement function. The frequency measurement range is from 1Hz to above 1MHz. When the measured frequency is lower than 25KHz, the cycle is displayed
4. Square waving generator, there are multiple levels of squarewaving frequency optional, left or right rotation test button to switch different square waving frequency, long press the test button to exit the squarewaving generator
5. Pulse signal generator, left or right rotation test button to adjust pulse duty cycle from 1% to 99%. Long press the test button to exit the pulse generator
6. Use 5V Type-c power supply interface for power supply, customers can also solder 9V battery interface for power supply
7. Automatic shutdown, shutdown current is only about 20nA
Note:
Before testing the capacitor, discharge the capacitor first, and then insert the test base for measurement, otherwise the microcontroller of the tester may be damaged.
Package includes:
1x GM328A transistor tester
Calibration:
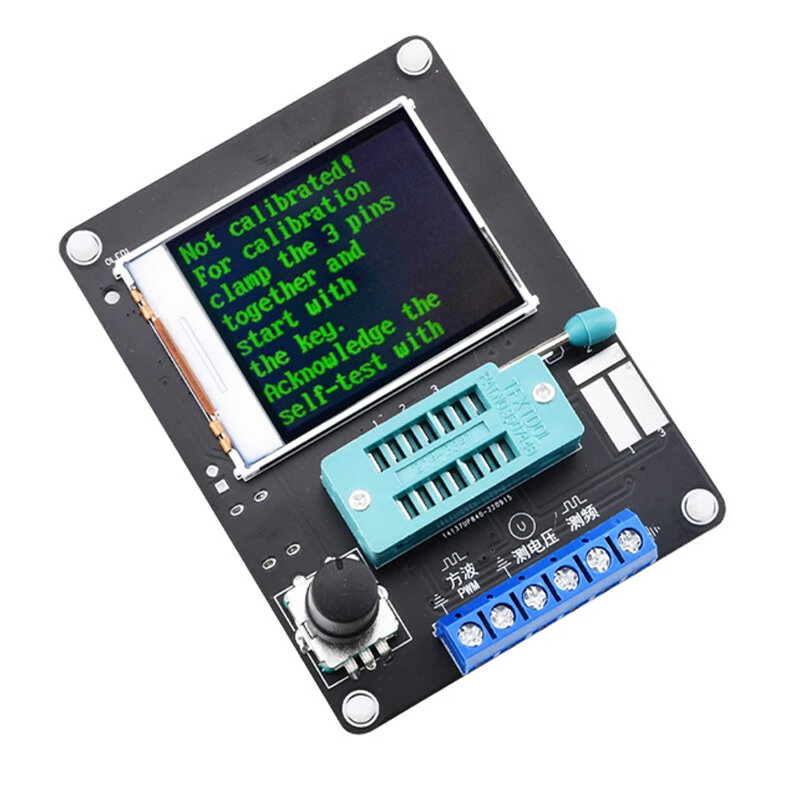
1. Tester calibration is used to eliminate the error of its own components, so that the final test results are more accurate. Calibration is divided into rapid calibration and full-function calibration.
2. Operation method of quick calibration: short connect the three test points TP1, TP2 and TP3 with wires, and then press the test button, while paying attention to the screen. The screen color will change to white text on black background, and the prompt "Selftest mode.. ?" After that, press the test button to enter the rapid calibration process; If the message "Selftest mode.. ?" After that, if there is no key within 2 seconds, a normal test process will be carried out. Finally, the resistance values of the wires at the three test points of TP1, TP2 and TP3 are displayed. Once you go through the quick calibration process, you"ll see some data on the screen, just ignore it. Wait until a blinking string appears on the screen"Isolate the Probes!" After that, remove the short wires of TP1, TP2, and TP3. The quick calibration is completed until the string "Test End" appears on the screen. For the first calibration, use full function calibration.
3. Full function calibration needs to be accessed from the function menu, and an additional 220nf capacitor is required. Full-function calibration performs a more comprehensive calibration process and takes longer. Once in the features menu, rotate the test button to the menu item "Selftest", then press the test button to enter the fully functional calibration process, with the blinking string "short Probes!" popping up on the screen first. As with the quick calibration, the three test points are shorted with wires and wait for the calibration process to occur, with the string "isolate Probes!" flashing on the screen. , remove the short in three test points lead, continue to wait for the calibration process, the screen string "1 - | | - 3 & gt; For 100nf, install the 220nf capacitor on the test points TP1 and TP3. Wait until the screen prompts "Test End" and the full-function calibration process is complete.


နောက်ဆုံးပေါ်အမှတ်တံဆိပ်သတင်းနှင့် ပထမဆုံးအော်ဒါအတွက် 15% လျှော့စျေးရယူပါ။
 Coupon Code
 Direct purchase from the factory


